 English
 русский
 Español
 عربى


A 2.5 t counterbalance truck, a 1,200 × 1,000 mm pallet sitting on a dock leveller, and forks left somewhere around knee height as the operator rolls in. The tips clear the bottom board, the load looks fine for a second, and then one fork catches the pallet's lower deck, the pallet shifts sideways, and the stack goes up crooked. Nobody is hurt. The pallet is now compromised, the stretch wrap is torn, and whoever lifts it next inherits a problem that started with 80 mm of fork height.
That is why the question of where the forks sit during the approach deserves more attention than it usually gets. It is the one point in the handling cycle when the load is still supported by the floor or the rack, the truck is effectively empty, and the operator's only feedback about alignment is what the fork tips tell them through the seat, the steering wheel and the noise of the blade meeting the pallet.
The short answer: bring the forks in level, spaced to the pallet's fork pockets and centred on the load, with the tips roughly 50–100 mm (2–4 in) above the floor and the mast vertical or within a couple of degrees of it. Enter at walking pace and stop when the load sits 25–50 mm from the fork heels. Tilt back only after the load is fully seated. Everything below is the reasoning behind those numbers and the conditions that move them: pallet type, load centre, floor surface, tyre condition, racking geometry and the way a trailer bed behaves under a moving truck.
Where the 50–100 mm Figure Actually Comes From
A standard four-way block pallet gives roughly 100 mm (4 in) of clearance between the floor and the underside of the top deck at the fork pockets. A 2–3 t counterbalance truck typically carries fork blades around 40–50 mm thick at the tip. Put the tips at 50–100 mm and the top face of the blade sits below the deck board while the bottom face stays well clear of the floor. That is the whole logic: a corridor just tall enough to enter, just low enough that nothing has to be dropped onto the pallet.
Going lower than that is the more common error, and it is the more expensive one. Below about 30 mm, the fork tip is operating in the layer where debris lives — broken pallet splinters, gravel, stretch film tails, banding, dried concrete, the lip of a dock leveller, the edge of an expansion joint. Catching a 20 mm offcut at walking pace sends a shock load straight back through the blade, the carriage and the mast, and on a solid-tyred truck that shock has almost nowhere to go except the frame and the operator's spine.
Going higher than 100 mm is subtler but no better. Above the pocket, the tip meets the side face of the load or the underside of the deck board rather than sliding into the gap. The operator then has to lower the forks into position, which means the load lands on the blades from a height instead of being gently engaged. It also removes the visual reference the driver was using to judge height in the first place.
Two details matter as much as the number itself:
- Measure at the tip, not the heel. With the mast vertical, tip height and heel height are effectively the same. Add forward tilt and the tips rise while the load-bearing heel drops, so a truck that looked level has now changed both the entry height and the load angle.
- The number is a band, not a value. On a smooth, clean warehouse floor with good pallets, 25–50 mm works and gives better depth perception. On concrete with joints, in a yard, or where pallets are repaired and re-used, 75–100 mm is the safer end of the range.
Operator training programmes built around the load-handling guidance that accompanies ISO 3691-1 and ANSI/ITSDF B56.1 converge on roughly the same corridor. They differ mainly in how much they insist on the mast being vertical at the point of entry, which is where a lot of real-world approaches fall down.
Why the Approach Decides More Than the Lift
Lifting is the visible part of the job; approaching is the part that is mostly judged after the fact. Three mechanisms explain why the first 600 mm matter more than the next 6 m.
The pallet is a structure, not a sheet of timber
A pallet deck is a beam system. A fork tip arriving at the wrong height applies a point load to a deck board or a stringer that was designed for a distributed load from above. Bottom boards crack first, then bearers split, then the pallet twists. In most pallet pools a significant share of units in circulation have some form of damage, and entry impact is one of the main accelerators. A damaged pallet does not fail immediately; it fails later, at height, in an aisle, with somebody standing underneath.
The truck is at its least stable and most sensitive
On approach, the truck is unladen and the load has not yet transferred onto the mast. That sounds like the safe case, and statically it is. Dynamically it is not: the operator is leaning, sighting along the fork tips, working the inching pedal and steering simultaneously, and any impact goes into a chassis that has no ballast to absorb it. On a cushion or solid-tyred warehouse truck, the tyre is part of the suspension, and a hard entry goes through it in a way a pneumatic tyre would blunt.
The floor is the reference plane, and it is never perfectly flat
Every fork-height instruction is really an instruction about height above the floor. Dock leveller lips sit 10–20 mm proud. Expansion joints and drain covers drop the wheels 5–15 mm on one side. Poorly patched concrete produces a local tilt. If the truck is standing on a surface that is not what the operator assumed, then a nominal 75 mm tip height can become 45 mm at one fork and 95 mm at the other.
A Repeatable Approach, Step by Step
The sequence below is what most good operators do without narrating it. Writing it down is what makes it trainable and auditable.
- Stop square and short. Pull up roughly 300–500 mm from the pallet with the truck's centreline aligned to the pallet's within about 50 mm. Correct alignment with steering, not with the forks.
- Set the fork spread before you move. Forks should sit so that the outer faces clear the pocket sides by a comfortable margin and the load is centred between them. Adjusting spread while creeping forward is how forks end up unevenly loaded.
- Level the forks. Mast vertical, blades parallel to the floor. This is the step most often skipped after a previous tilt-back.
- Raise to entry height. 50–100 mm at the tips for a standard pallet; lower within that band on clean, flat, well-maintained floors.
- Read the pallet before committing. Look at the bottom board for cracks, at the pocket for obstructions, at the deck for missing boards, and at the load for lean, overhang or wrap that has been pulled into the entry.
- Enter at a crawl, eyes on the tips. Not on the mast, not on the top of the load. The tips are the only part of the truck that touches the reference surface.
- Stop when the load is 25–50 mm from the heels. A load pushed hard against the heel exaggerates the effect of any backward tilt and pushes the load centre forward on the blade.
- Lift clear, then tilt back. Raise until the load is free of the floor or the rack beam, then apply a modest back tilt — commonly 5–10°, enough to settle the load against the mast without lifting the drive wheels.
- Lower to travel height and reverse out square. Travel with the forks 100–150 mm above the floor and the load tilted back. Reverse away in a straight line before turning.
Notice that steps 4 and 8 pull in opposite directions on purpose. The forks should be level when they enter and tilted back when they carry. Any tilt applied before the load is seated is doing work on the pallet that the pallet was not designed for.
Fork Spread, Centring and the Entry Window
Height gets most of the attention because it is easy to see. Spread and centring matter just as much, because a load that is not centred between the forks is a load with a shifted centre of gravity before it ever leaves the floor.
Two rules cover most situations. First, spread the forks as wide as the load's pockets allow, up to the carriage width, and symmetrically about the truck's centreline. Wider spacing reduces the bending moment in each blade and reduces the chance of the load rocking sideways. Second, treat the load's geometric centre as the target and check it visually against the mast before entering — an overhanging load on one side moves the effective load centre away from the rated point even if the weight is unchanged.
The table below gives practical starting values for the approach. Treat them as a reference to validate against the truck's operator manual and your own risk assessment, not as a universal specification.
| Load situation | Fork tip height at entry | Mast position at entry | What usually goes wrong |
|---|---|---|---|
| Standard 1,200 × 1,000 mm four-way block pallet | 50–100 mm | Vertical, blades level | Tips set too low, catching the bottom board |
| Two-way stringer pallet | 30–60 mm | Vertical | Sagging bottom board; forks enter the gap but scrape the deck |
| Pallet on a rack beam at 1,400 mm | 20–50 mm above the beam | Vertical, then slight back tilt once seated | Beam clearance misjudged, fork strikes the beam above |
| Load on a trailer bed at a dock | 50–100 mm, re-checked as the bed moves | Vertical | Bed height changes during loading; the truck pitches on the leveller |
| Double-stacked load | 20–40 mm above the lower pallet | Vertical | Lower pallet already damaged and collapsing under the top load |
| Slip sheet on the floor | Forks on the floor, tips lifted 5–10 mm | Slight back tilt | Push-pull attachment not fitted; slip sheet torn at the edge |
The common thread in the right-hand column is that almost none of these failures are about the truck's capability. They are about the operator's information at the moment of entry — which is why good practice puts so much emphasis on stopping, levelling and looking before moving forward.
Reading the Load Before You Commit
Fork position is only half of the approach decision. The other half is whether this truck, with this attachment, at this height, should be lifting this load at all.
Every counterbalance truck carries a data plate that states rated capacity at a defined load centre — commonly 500 mm in metric markets and 24 in (about 610 mm) in North American practice — and often at more than one lift height. The load centre is measured from the vertical face of the fork heel to the centre of gravity of the load, not to the geometric centre of the pallet. A pallet whose load is stacked toward the tips, or a load with an overhang, can move the effective centre well forward of the rated point without any change in weight.
Because capacity falls roughly in inverse proportion to load centre, the numbers drop faster than most people expect. The figures below illustrate the pattern for a truck rated 2,000 kg at 500 mm.
| Effective load centre | Approximate residual capacity | Practical effect on the approach |
|---|---|---|
| 500 mm | 2,000 kg | Full rated load; standard approach |
| 600 mm | 1,670 kg | Load shifted 100 mm forward; still comfortable |
| 700 mm | 1,430 kg | Approaching the limit for a nominal 1.5 t load |
| 800 mm | 1,250 kg | Rear axle unloading becomes visible on the steering |
| 900 mm | 1,110 kg | Marginal; back tilt now risks lifting the drive wheels |
Attachments change the picture again. A side-shifter moves the load laterally and adds a few hundred millimetres of forward distance between the carriage and the fork heel. A fork positioner adds weight to the carriage, which subtracts from residual capacity before the load is counted at all. Both mean the numbers on the plate no longer describe the truck as configured. If the attachment was fitted after delivery, the capacity plate should have been updated; if it was not, the truck's stated rating is not the rating in force.
There is a useful check that costs nothing. Before entering, ask whether the load could be lifted 100 mm off the floor and held there with the mast vertical, at rest. If the answer is uncertain, the approach is not the problem to solve first.
What the Floor and the Tyres Do to Your Approach
Fork height is measured against a surface, and the surface under a working truck is a moving variable. So is the tyre that sits between the truck and that surface.
Consider what a set of tyres actually does to the geometry. A truck standing on four tyres of nominally identical size sits level. A truck with one flat-spotted solid tyre at the drive axle, one press-on tyre worn 8 mm more than its neighbour, or a pneumatic tyre 1 bar down on one corner, does not. The chassis tilts by a degree or two, the mast tilts with it, and the fork tips no longer sit at the height the operator set. On a 1.2 m wide truck, a 10 mm difference in tyre radius across the axle produces a visible lean at the mast head, and a visible difference between the height of the left and right fork tips.
Solid and press-on tyres behave differently from pneumatics here, and the difference is worth understanding rather than assuming. They do not absorb shock the way an air-filled carcass does, so floor irregularities are transmitted more directly into the chassis. That makes the flatness of the approach route more important, not less. A joint, a drain cover or a leveller lip that a pneumatic truck would roll over becomes a small vertical step at the fork tips. Where the floor is smooth and the loads are repetitive, this is a marginal effect. Where the truck crosses yard concrete, dock plates and painted line build-up all day, it is not.
Wear patterns also give you information long before they cause a positioning error. Heel-and-toe wear on a drive tyre, a flat spot from a repeated hard stop at the same corner of the aisle, chunking at the shoulder from kerb contact — each tells you something about how the truck is being driven. A truck that flat-spots tyres is usually a truck whose operators are braking late into the pallet.
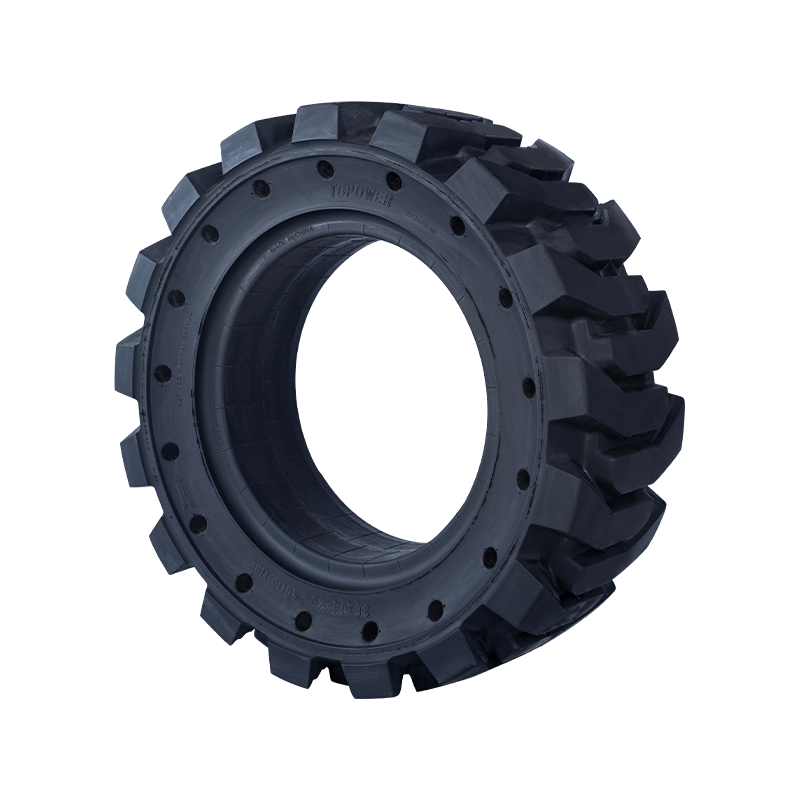
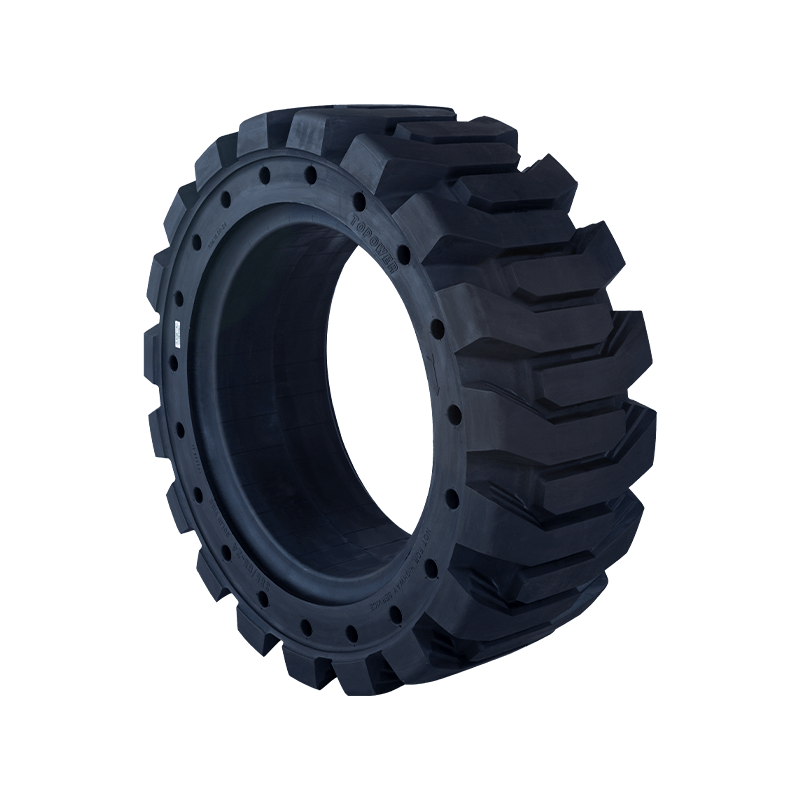
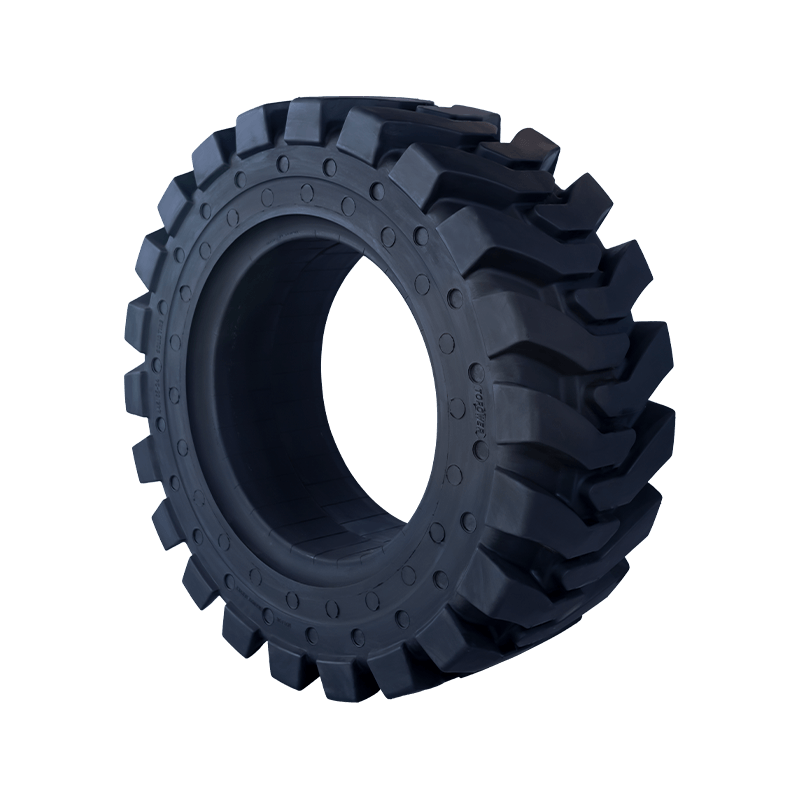
For fleets running repetitive pallet work, the tyre choice tends to settle on solid construction for puncture immunity and consistent rolling radius. Press-on tyres suit industrial trucks with separable rims and are easy to replace when a single wheel wears out. Non-marking compounds matter where the floor is finished, visible or audited for cleanliness. These are specification decisions rather than operator ones, but they feed directly into how consistent fork height will be from shift to shift.
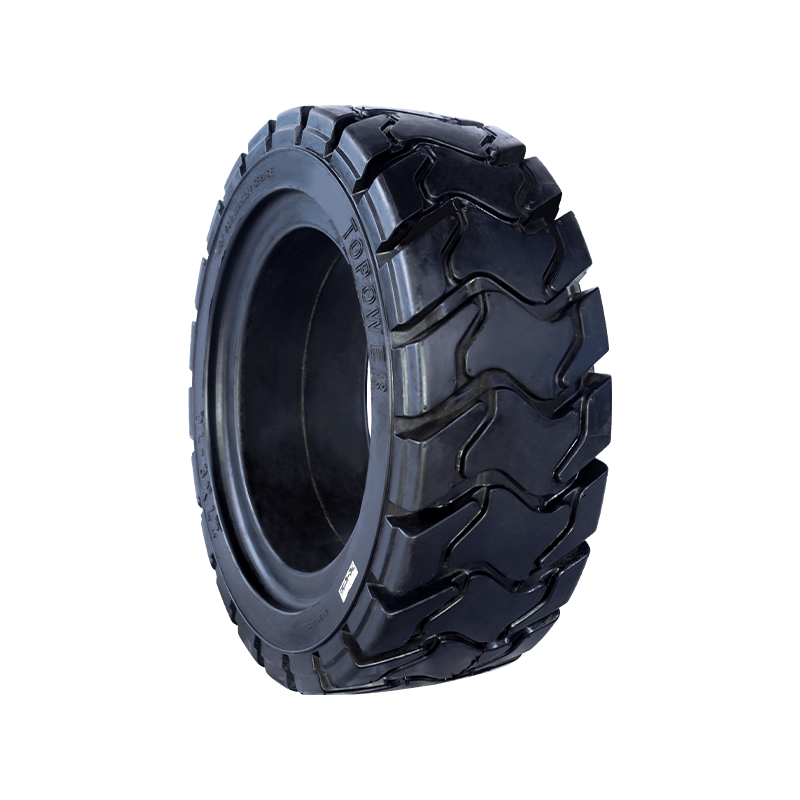
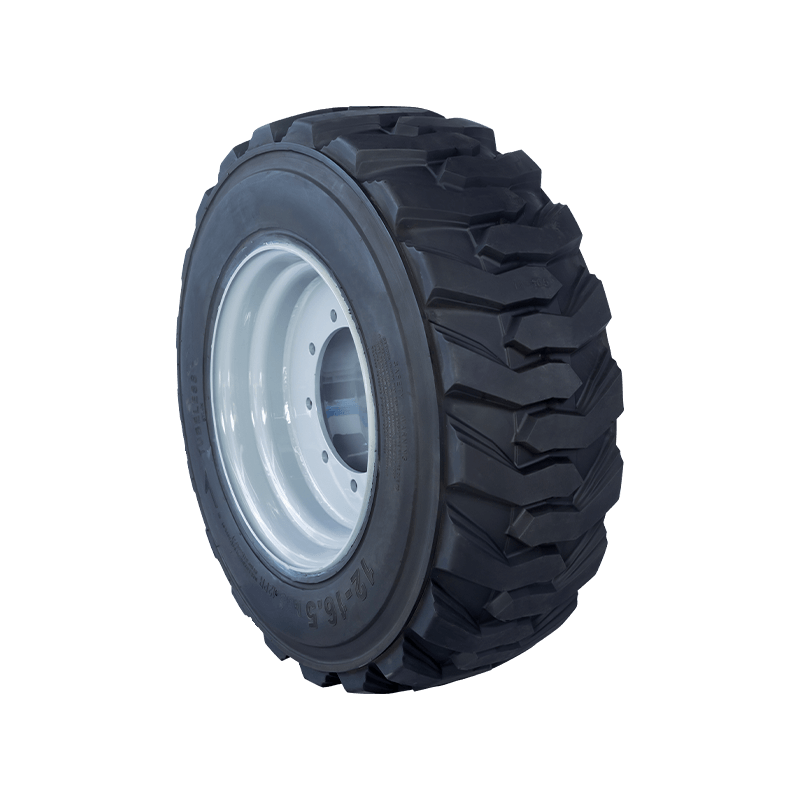
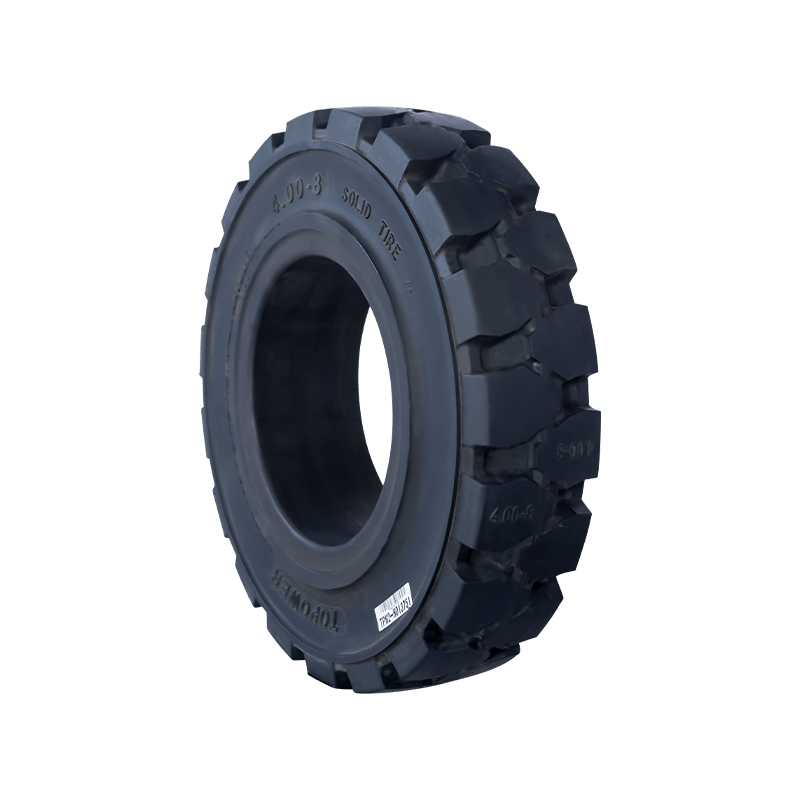 Forklift Solid Tyres in TP301 and TP301B SeriesBrowse press-on solid tyres sized for counterbalance and warehouse trucks, with black wear-resistant or non-marking compounds available to match floor and duty.View Product →
Matching the tyre specification to the duty cycle — load weight, aisle surface, shift length, indoor or mixed — is where a conversation with the tyre supplier earns its keep. The solid-tyre ranges built for counterbalance and warehouse trucks, including press-on and non-marking variants, are specified by load, floor condition and duty rather than by truck model alone.
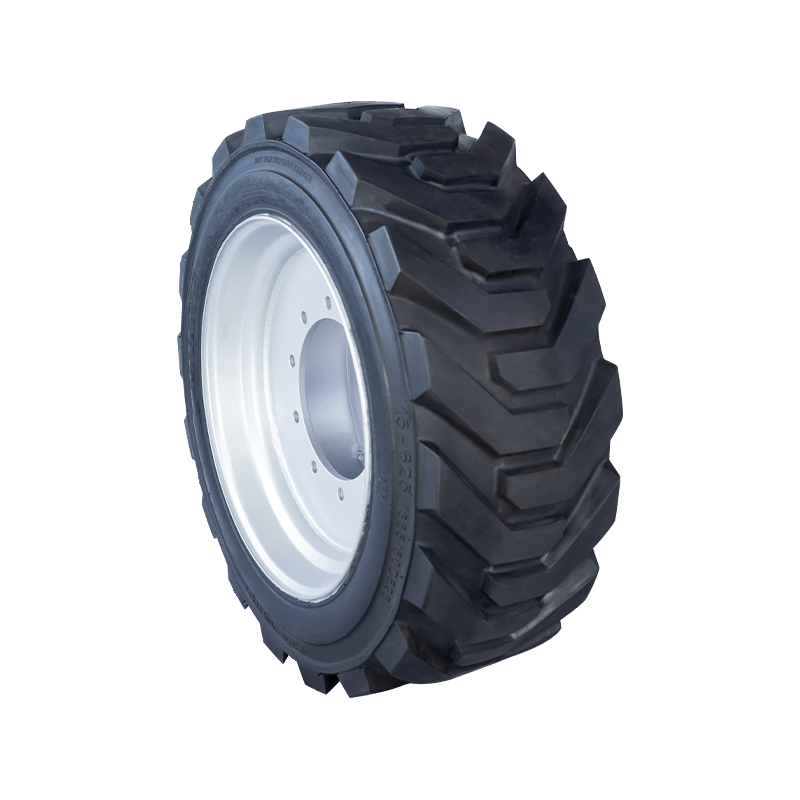
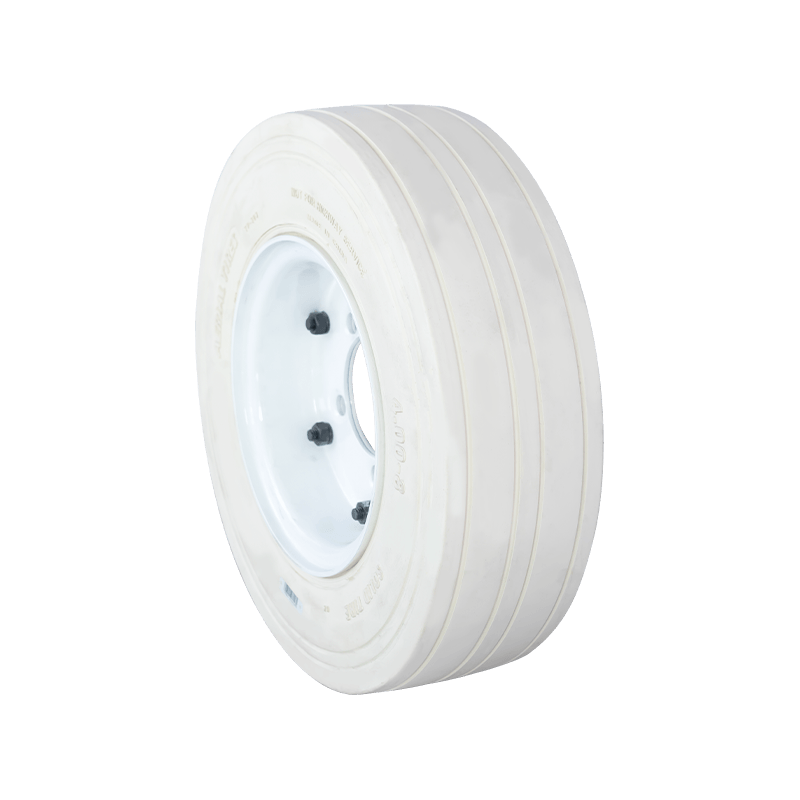 Non-Marking Solid Tyres for Indoor Material HandlingReview light-coloured solid tyre sizes for scissor lifts and indoor machinery where cleanliness and non-marking performance matter, including white and grey options.View Product →
One last point on tyres and approach accuracy: rolling radius changes as a solid tyre wears. A truck that has run 4,000 hours on its original set sits measurably lower than it did when new, and every fork height the operator judges against the floor is judged from a chassis that has dropped. That is one more argument for measuring heights against the pallet rather than relying on muscle memory.
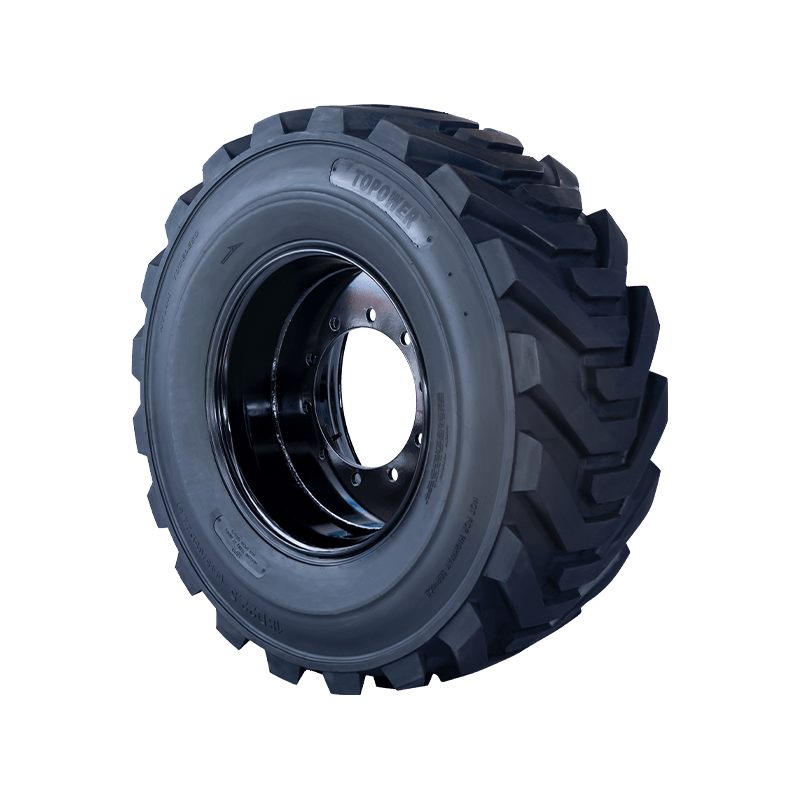
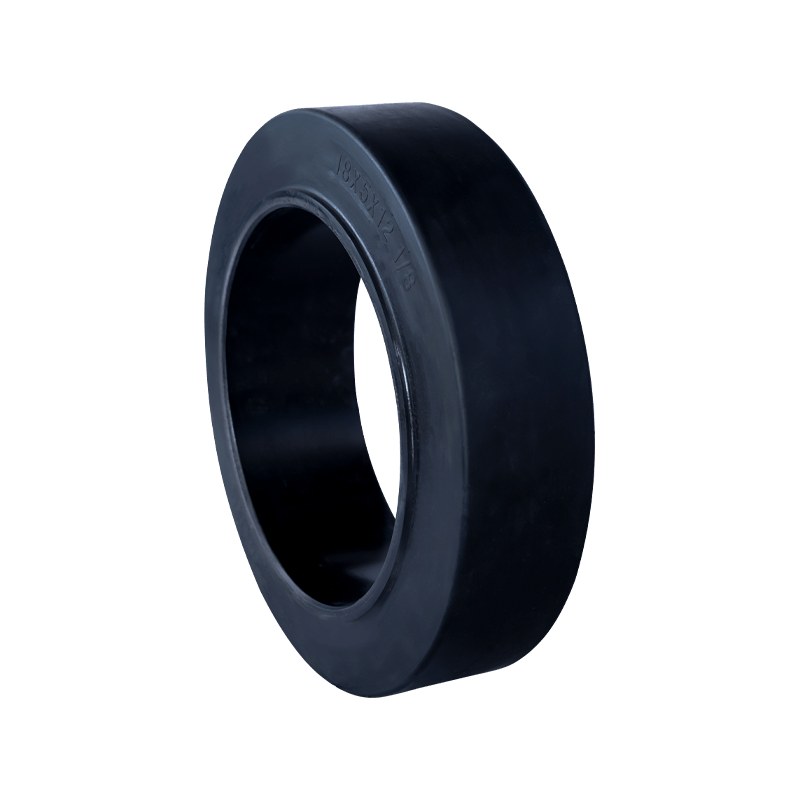 Press-On Solid Tyres with Reusable Steel RimsCheck press-on solid tyres for industrial trucks and machinery, offering reusable inner steel rims and black or non-marking compounds for replacement cycles.View Product →
Approaching into Racking, Trailers and Containers
The 50–100 mm rule assumes a load on a floor at a known height. Change the reference plane and the number has to be re-derived, even though the principles do not change.
Racking
Entering a pallet on a beam 1,400 mm up means the forks must clear the beam by 20–50 mm and stay below the beam above. Sightlines are worse, the operator is looking up, and the consequences of a mis-set fork are worse because the load is already at height. Two habits reduce the risk: bring the forks to the beam level while still a metre short, so height is set before the truck is close enough to strike anything; and check the beam's condition — a deformed or unclipped beam changes the height reference you are aiming for.
Trailers at a dock
Loading a trailer is the classic case where the reference plane moves. The trailer bed height changes as the load goes on, the suspension compresses or extends, and the tractor unit may be sitting on a slope. Combine that with a dock leveller that pitches under the truck's weight and you have a fork height that was right for the first pallet and wrong for the fifth. Re-check the tip height against the bed each time rather than trusting the setting from the previous lift. Trailer creep — the trailer being pushed away from the dock by the truck's momentum during entry — is a separate hazard, controlled by dock locks, chocks or a restraint system, and it is worth confirming those are engaged before the first approach rather than after the third.
Containers and low-clearance spaces
Container floors are typically plywood or steel over crossmembers, sitting 100–150 mm above the ground, and the door sill is a vertical step. Forks must clear the sill, not the ground, and the mast has to stay below the door header through the whole entry. Overhead guards, mast extensions and attachments that add height all reduce the margin. If the truck only fits with the mast tilted forward, the truck does not fit.
Approach Errors That Keep Showing Up
Across warehouses, yards and loading bays, the same handful of mistakes account for most of the damage. None of them are exotic, and all of them are correctable with coaching rather than new equipment.
| Error | What it produces | Correction |
|---|---|---|
| Entering with the forks at floor level | Bottom boards hooked and split; debris dragged; leveller lips struck | Set entry height before moving off; make it a physical checklist habit |
| Approaching with forward tilt still applied | Tips high, heels low; load drops onto the blades | Level the mast at the stop point, not during the creep |
| Entering off-square | One fork in the pocket, one against the deck; pallet twisted | Align with steering at 300–500 mm out; creep straight in |
| Forks too close together | Load rocks laterally; blade bending loads doubled | Spread to pocket width before the approach, every time |
| Pushing the load hard against the heels | Load centre effectively moved forward; back tilt lifts drive wheels | Stop 25–50 mm short of the heels |
| Tilting back during entry | Fork tips rise into the deck; pallet lifted by the top board | Tilt only after the load is free of the floor or beam |
| Approaching at speed and braking into the pallet | Shock load through carriage, mast, chassis and tyres; flat spotting | Arrive at the stop point already at creep speed |
| Ignoring a visibly damaged pallet | Failure at height, later, in an aisle | Reject and restack; report the pallet, do not just avoid it |
The pattern in the correction column is that almost every fix is a sequencing change rather than a skill. Setting height before moving, aligning before creeping, tilting after seating — these are procedural, which means they can be trained, observed and reinforced.
Pre-Shift Checks That Protect the Approach
Fork position depends on hardware being in the condition the operator assumes. Five minutes at the start of a shift covers most of it.
- Fork blades and heels. Look for cracks at the heel radius, bent tips, and wear on the bottom face. A common workshop rule is to withdraw a fork once the heel has worn by about 10% of its original thickness; below that, tip height readings stay meaningful.
- Fork carriage and locking pins. Forks should be locked in position, not merely resting on the carriage. A fork that shifts under load changes the spread mid-lift.
- Chains and hoses. Even tension between the two lift chains, no kinks, no leaks at the mast.
- Tyres. Consistent rolling radius across each axle, no flat spots, no debonding on press-on tyres, no chunking at the shoulders. Checking a solid tyre is a visual and physical inspection rather than a pressure gauge — the specific points worth checking on an industrial solid tyre differ from what you would look for on a pneumatic.
- The route. If a joint, leveller lip or patch of broken concrete sits on the approach, the operator should know about it before the first pallet rather than after.
This is also the point at which consistent tyre specification pays off. A mixed set — one worn drive tyre, one new, two different compounds — makes the truck sit unevenly and makes fork height judgement harder for everyone who drives it.
Turning the Standard into Behaviour
A written procedure that says "level, low and square" changes nothing on its own. What changes behaviour is making the correct approach easier than the incorrect one.
Mark the stop point. A painted line or floor marker 400 mm from the pallet position gives operators a fixed reference for the alignment step and removes the temptation to creep and correct simultaneously. In high-throughput aisles this single change often does more than a refresher course.
Observe the approach, not the lift. Assessors tend to watch whether the load arrives intact; the informative moment is the two seconds before entry. A short observation checklist — stop square, spread set, mast level, entry height, creep speed, stop short of the heel — is enough to identify which step an operator is skipping.
Feed back in specifics. "Your forks were set at about 40 mm on the last three approaches and the pallets in that bay have split bottom boards" lands better than a general reminder about care. Operators generally know the rule; what they lose under time pressure is the sequence.
Finally, connect it to maintenance. If the truck is sitting low on one corner, if the carriage is loose, if the floor at the dock has settled, the operator is being asked to hit a height band that the equipment is making harder to hit. Fixing the tyre set, the carriage pins and the floor patch is a training intervention by another name.
The forks should come in level, centred and set at roughly 50–100 mm above the floor, with the mast vertical and the load still on the floor or the rack. That is the answer, and it is short enough to remember. What makes it work in practice is everything around it: matching the height band to the pallet and the surface, spreading and centring the forks before moving, tilting back only after the load is seated, and reading the load centre rather than the weight on the box.
Most of the damage attributed to "careless driving" is really a sequence problem that starts 500 mm before the pallet. Stop square, set the height, then creep. The pallet, the racking, the floor and the tyres all last longer when that order is kept.